Edge Routing in Workflow Editors: Technical Deep-Dive


Ask any developer who has built a workflow editor what took longer than expected, and edge routing comes up consistently. The canvas looks simple from the outside: nodes connected by lines. The reality is that making those lines readable – routing them around obstacles, preventing crossings, keeping them clean as users rearrange nodes – is one of the hardest sustained engineering problems in workflow editor UI.
This article explains why edge routing is hard, what the technical options are, how libavoid-based routing works, and what the difference looks like in practice between straight-line edges and production-grade obstacle-avoiding routing.
Why edges are harder than they look
A workflow editor with five nodes and six edges looks fine with straight-line connections. Add twenty nodes, vary the layout, let users build something non-linear, and straight-line edges become a visual problem fast.
The core issues are three, and they compound each other.
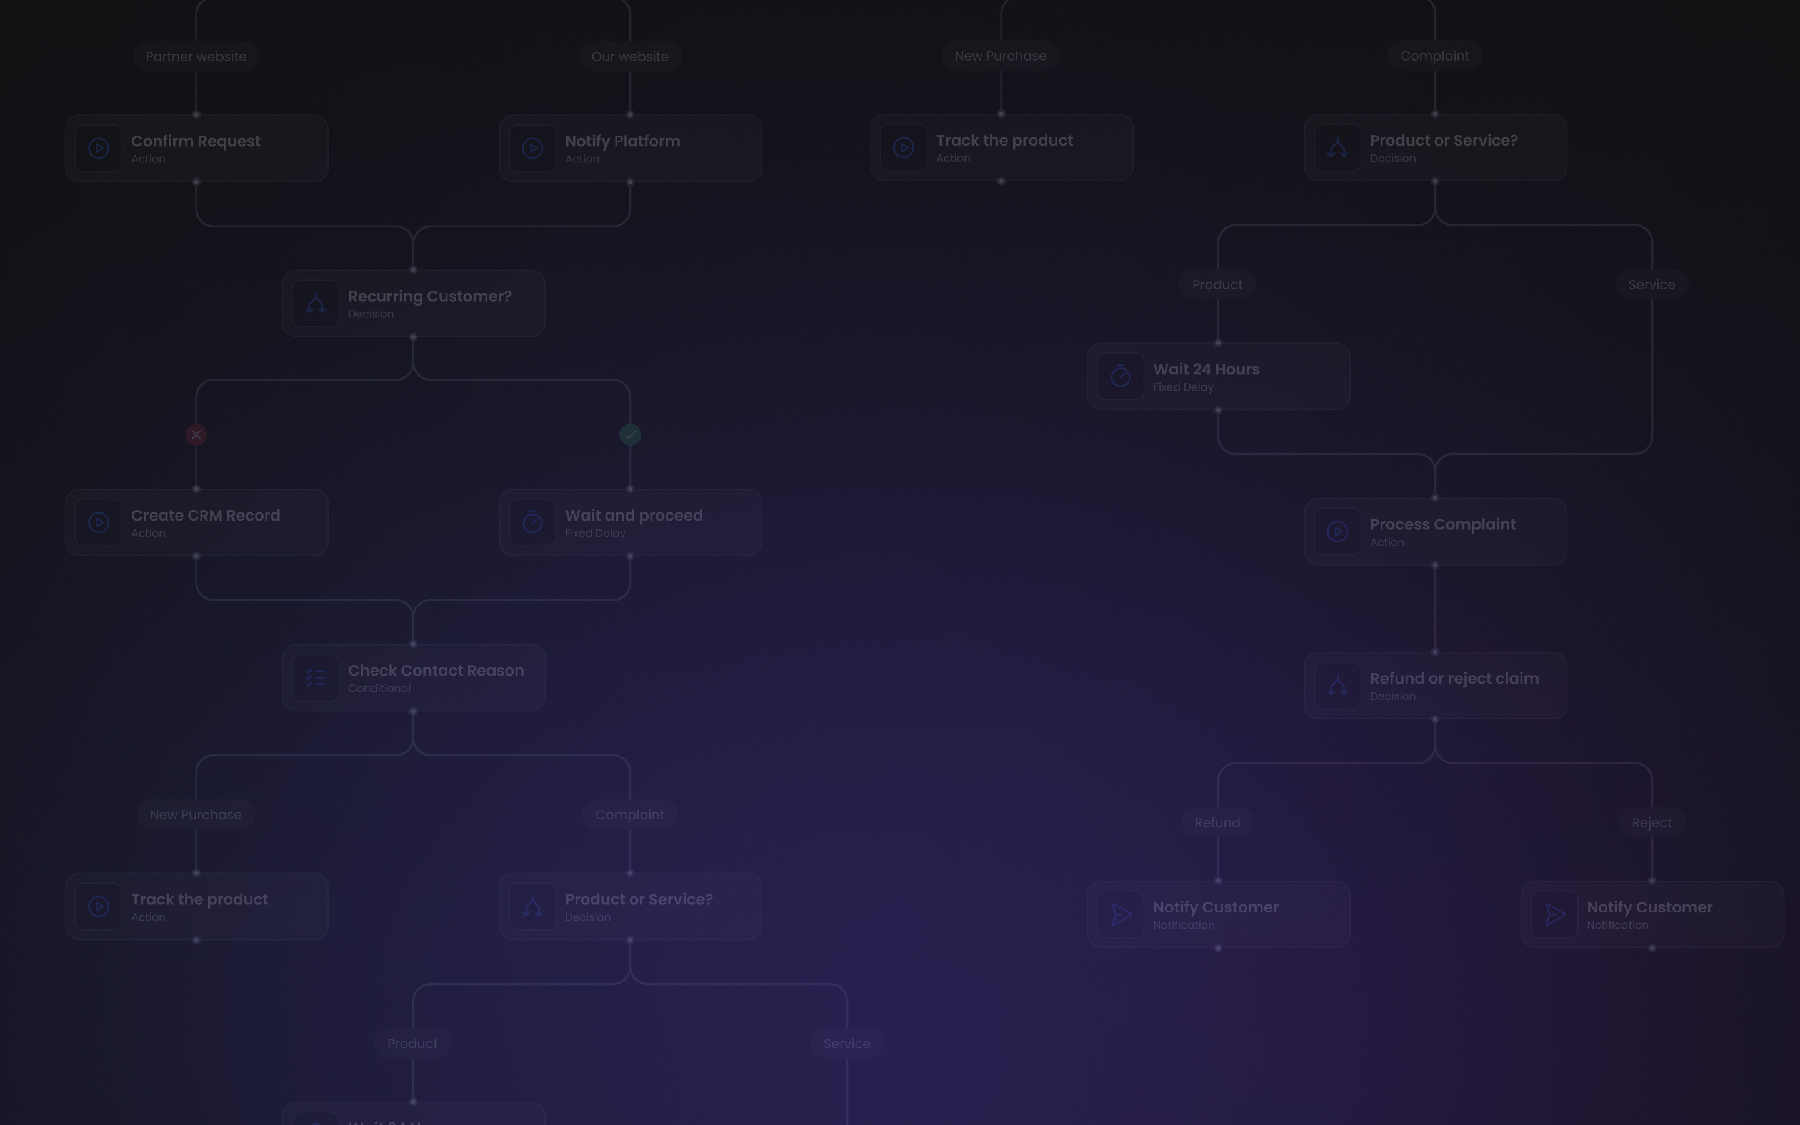
- Overlap. When two edges travel similar paths across the canvas, they render on top of each other. Users can't tell whether they're looking at one connection or several. In a dense pipeline – a marketing automation workflow with ten condition branches, or an AI pipeline with parallel retrieval paths – overlapping edges make the canvas unreadable.
- Node crossing. React Flow's default edge rendering takes the shortest geometric path between source and target handles. That path frequently runs directly through other nodes. An edge that visually passes through an unrelated node looks like a connection to that node. Users misread the graph.
- Handle ambiguity. Production workflow nodes have multiple connection handles: a condition node has a true branch and a false branch; an LLM node might have a main output, an error output, and a streaming output. When edges from multiple handles travel similar paths, the relationship between a specific edge and its source handle becomes unclear.
None of these are solvable by asking users to arrange their nodes more carefully. They're properties of the routing algorithm, and they require a routing algorithm that accounts for obstacles.
The options: what you're choosing between
When building a workflow editor, you have four practical approaches to edge routing.
- Default React Flow edges use straight lines or simple bezier curves between source and target handles. They're the starting point – fast to implement, zero configuration required. In sparse graphs they work. In any workflow with more than a dozen nodes and non-trivial connectivity, they produce the crossing and overlap problems described above. There's no configuration that fixes this at the React Flow level. The routing algorithm doesn't know about other nodes. It draws a path from point A to point B without considering what's between them.
- Manual edge bends let users drag edge midpoints to reroute connections manually. Some workflow editors ship this as the primary solution. The problem is that it shifts the burden to users: every time they add a node or rearrange the layout, they need to manually re-route edges that now cross through new obstacles. Manual bends are a workaround, not a solution.
- Custom bezier routing is a common intermediate approach: write routing logic that chooses bezier control points based on the relative positions of source and target nodes. This produces cleaner results than straight-line edges and is implementable in a few days. It doesn't solve node crossing (it has no knowledge of intermediate obstacles) but it reduces overlap for many common layout patterns. The ceiling on this approach is low. As graph complexity increases, custom bezier routing produces increasingly inconsistent results. Edge paths depend on node positions in ways that are hard to reason about, and the logic is difficult to maintain as node types and layout patterns evolve.
- Obstacle-avoiding routing uses a dedicated graph routing library that plans edge paths with knowledge of the full canvas layout – node positions, node sizes, existing edges, and configurable clearance rules. This is the approach Workflow Builder uses, via libavoid.
How libavoid works
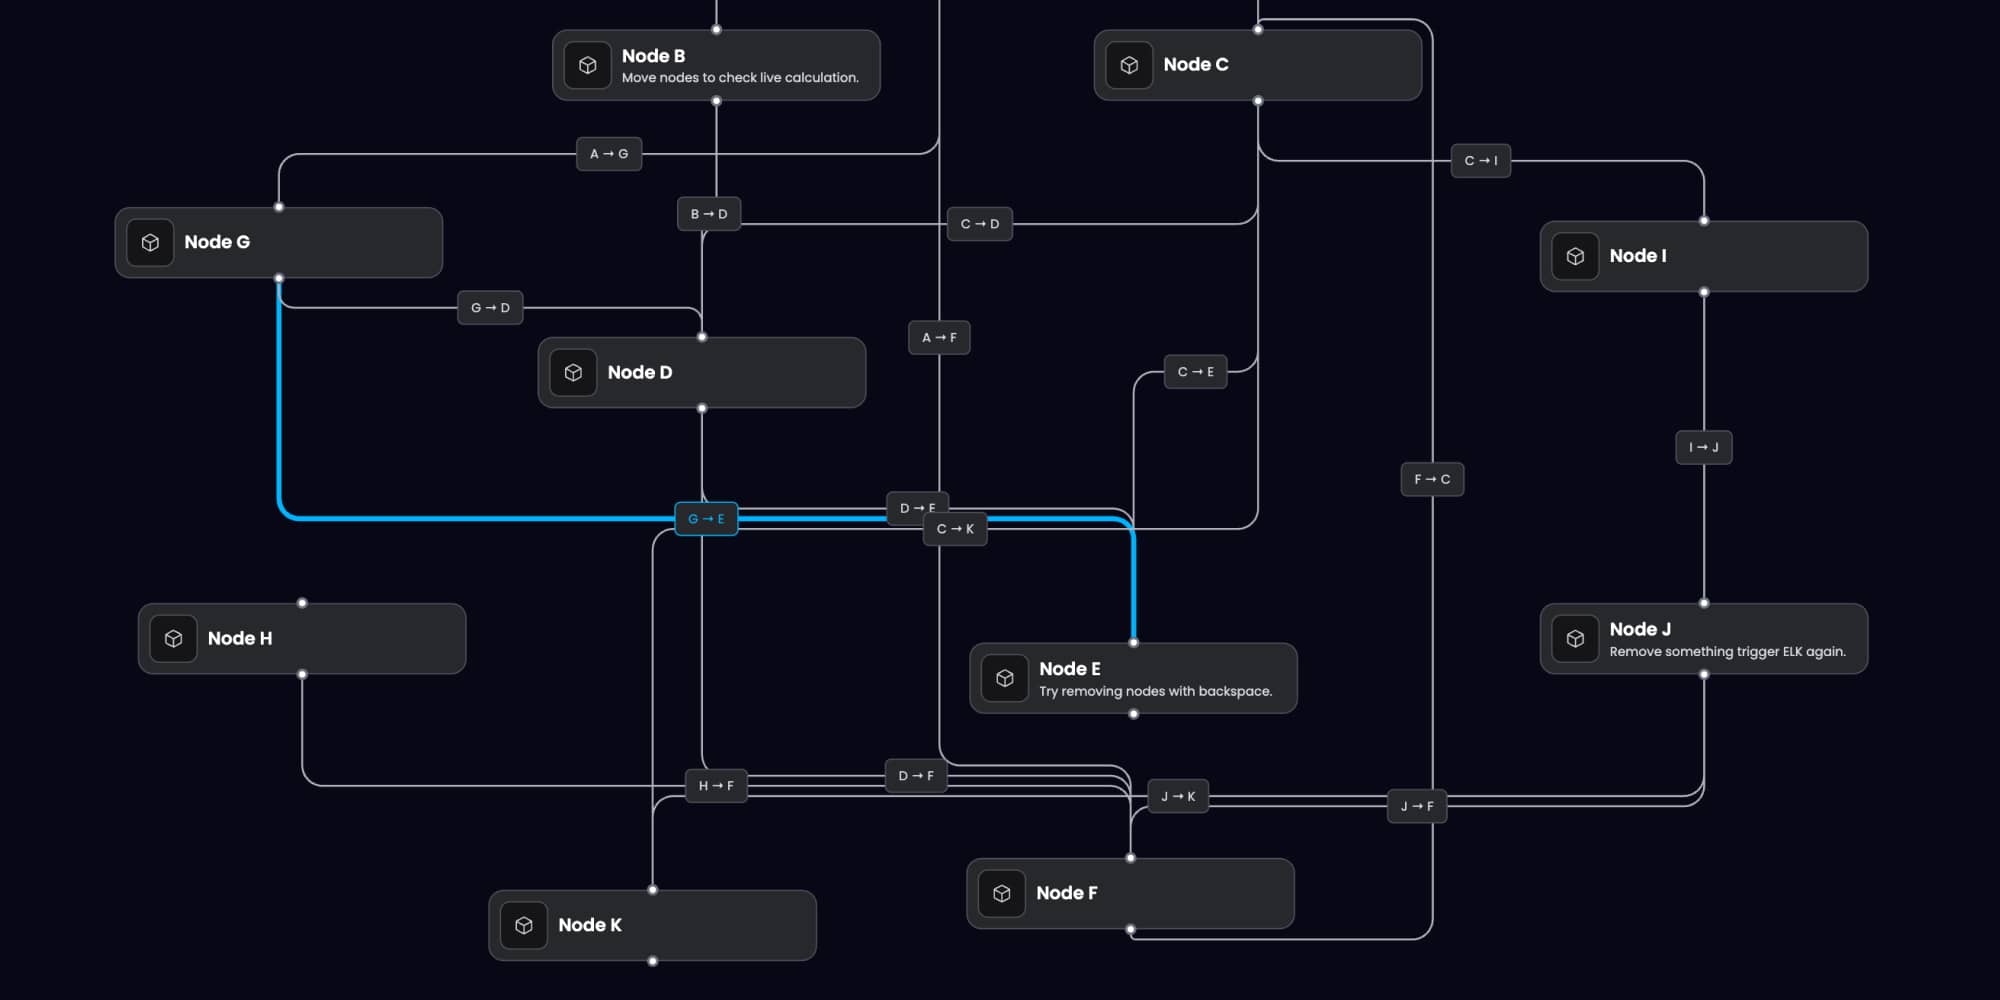
Libavoid is an open-source connector routing library developed as part of the Adaptagrams project. It was built specifically for graph layout tools and has been used in applications including Inkscape and Dunnart. Its core capability is computing edge paths that avoid rectangular obstacles – which maps directly to the workflow editor problem, where nodes are rectangles that edges should route around.
The library models the canvas as a visibility graph: a representation of which paths are geometrically clear of obstacles. When a new edge needs to be routed – or when an existing edge needs to be re-routed because a node moved – libavoid computes the shortest clear path through the visibility graph, respecting clearance margins around obstacles.
In practice, this means edges route around nodes automatically. When a user moves a node, connected edges re-route in real time to maintain clearance. When the graph is dense, edges find paths through available space rather than crossing through occupied areas.
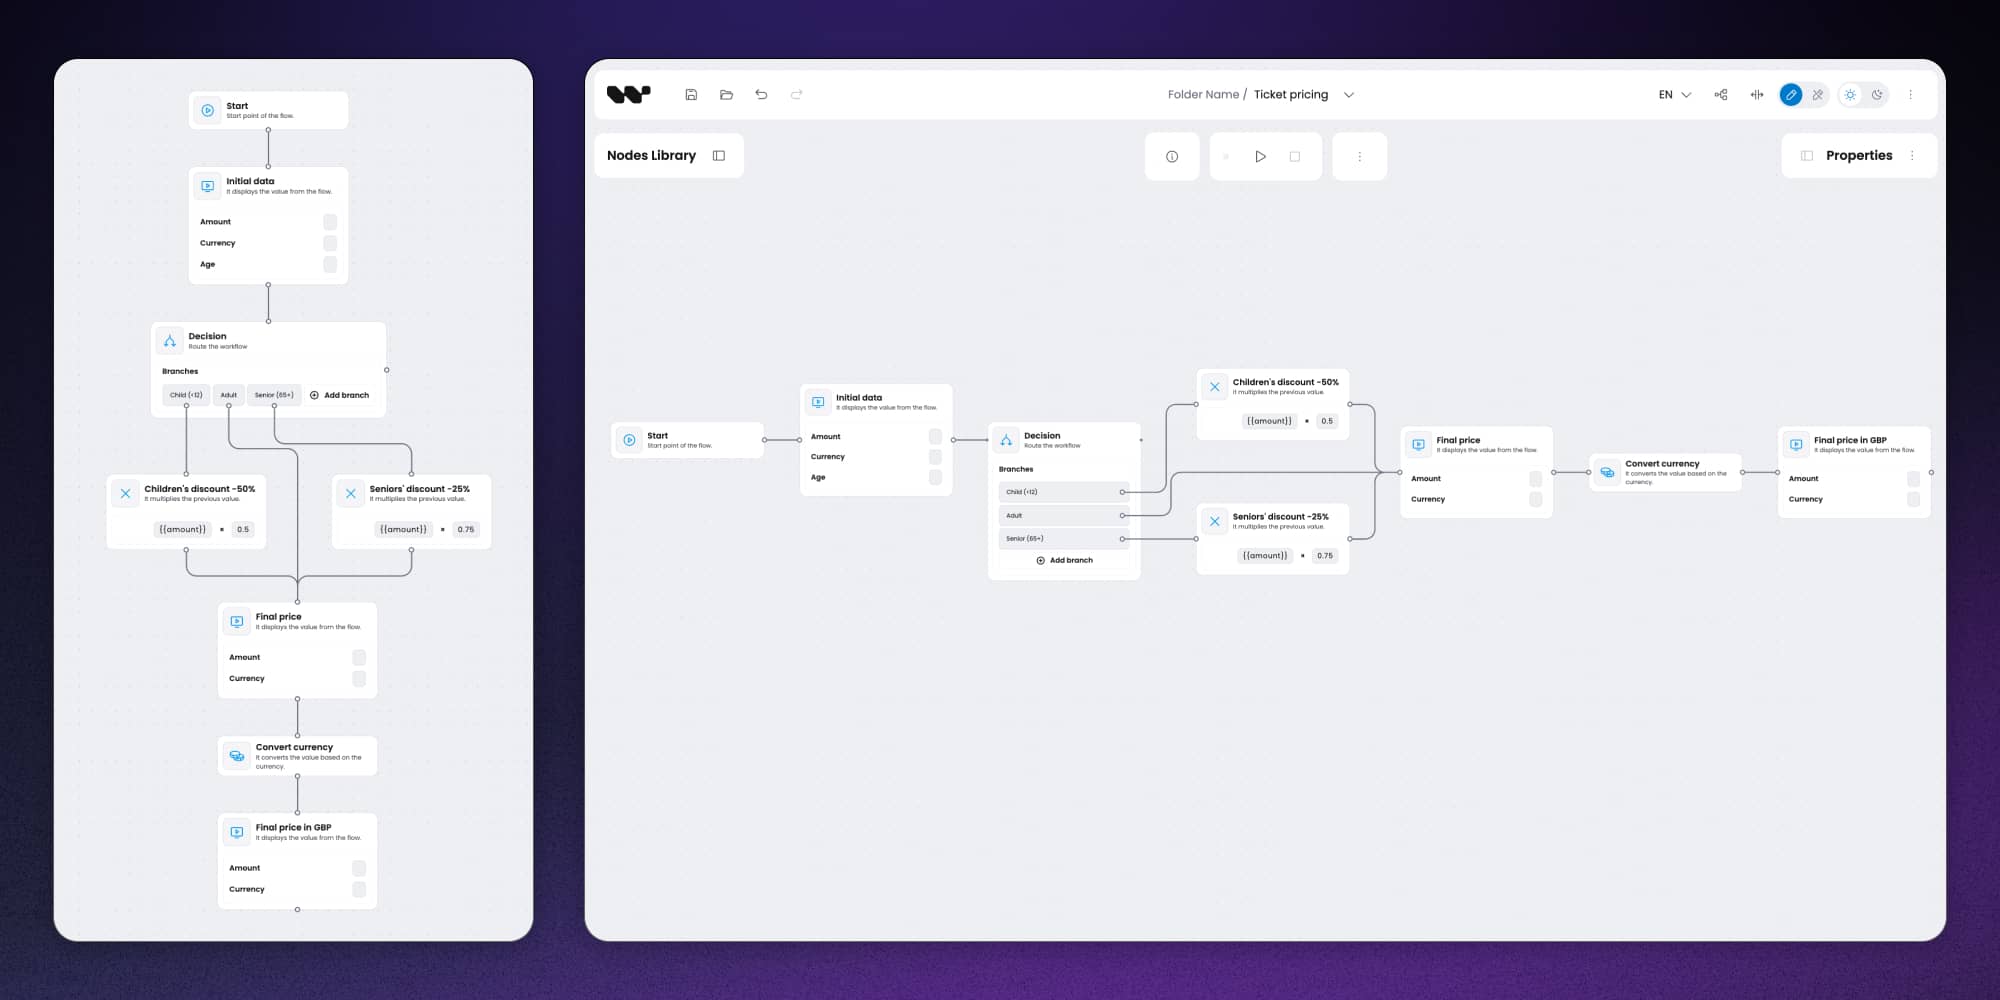
Workflow Builder integrates libavoid as a plugin that hooks into React Flow's edge rendering layer. The result is the behavior visible in the Vercom RCS Flow Studio implementation: a campaign workflow with multiple message nodes, condition branches, set value nodes, and API integration nodes, where edges route cleanly through available space regardless of how users arrange the canvas.
Auto-layout and routing: why they're related
Edge routing and auto-layout solve adjacent problems and interact in ways that matter for implementation.
Auto-layout – computing node positions automatically from graph structure – is handled in Workflow Builder via ELK (Eclipse Layout Kernel). ELK is a layout algorithm library that supports multiple layout strategies: hierarchical (top-to-bottom or left-to-right DAG layouts), force-directed (organic positioning for general graphs), and others. For workflow editors, hierarchical layout is typically the right default: workflows have a directionality, and users expect to read them top-to-bottom or left-to-right.
The relationship between auto-layout and edge routing is that layout quality affects routing load. A well-laid-out graph – where nodes are positioned to reflect the workflow's logical structure – produces shorter, cleaner edge paths with fewer opportunities for crossing. A poorly laid-out graph forces the routing algorithm to find paths through cluttered space.
In practice, this means auto-layout and routing need to be configured together rather than independently. The ELK layout algorithm should leave clearance that the libavoid routing can use. The routing clearance parameters should be set with knowledge of how the layout algorithm positions nodes.
The React Flow Developer Survey found that nearly 50% of teams building on React Flow had to implement custom auto-layout, and most described the ELK integration specifically as underdocumented and fragile. This is the integration that Workflow Builder ships pre-configured – a meaningful reduction in scope for teams that would otherwise need to build and maintain it themselves.
What breaks routing at scale
Production workflow editors eventually encounter graphs that stress-test routing assumptions. The failure modes are worth knowing before you hit them.
High node density
When many nodes occupy a small canvas area, the routing algorithm has less space to find clean paths. Edges may be forced into longer routes to avoid obstacles, producing paths that look circuitous. The fix is usually a combination of routing clearance tuning and layout algorithm parameters that spread nodes more aggressively.
Many parallel edges
When multiple edges share similar source and target regions – common in fan-out patterns where one node connects to many downstream nodes – even good routing produces visual density. Workflow editors with heavy fan-out might need edge bundling: grouping parallel edges and routing them as a bundle before branching to individual targets.
Frequent re-routing.
Every time a user moves a node, the routing algorithm needs to recompute paths for affected edges. For small graphs this is imperceptible. For graphs with 50+ nodes and complex connectivity, re-routing triggered by every drag event can produce visible lag. The standard mitigation is debouncing re-routing so it fires after the drag interaction settles rather than on every mouse move event.
Port-specific routing.
When nodes have multiple connection handles with semantic meaning – a condition node's true and false outputs, an error handler's success and failure paths – the routing algorithm needs to respect handle positions and maintain visual consistency in which output an edge originates from. This requires handle position configuration that aligns with the node's visual design, not just its default placement.
The engineering cost of doing this yourself
Integrating obstacle-avoiding edge routing from scratch – not starting from a library like libavoid, but implementing the routing logic – is a several-month engineering project. Integrating libavoid itself, without existing integration scaffolding for React Flow, is estimated at two to four weeks for a developer familiar with graph algorithms.
The less visible cost is maintenance. Edge routing interacts with almost every other part of the workflow editor: node sizing, handle positioning, zoom level, canvas scaling, auto-layout, and execution state visualization. Changes to any of these can affect routing behavior in ways that require re-testing and re-tuning the routing configuration.
Workflow Builder ships libavoid integration pre-built and pre-configured for the React Flow canvas. The routing behavior is tested across the node types and layout patterns that Synergy Codes has encountered across 100+ commercial diagramming projects. That accumulated testing is what "production-grade" means in practice – not just that the routing algorithm is correct in theory, but that its behavior has been validated against the edge cases that only real projects surface.
"The actual integration into our stack was very painless for how heavy the UI is." Athena Intelligence
The comment is about the overall integration, but it reflects what happens when the hard infrastructure – routing included – is already solved at the SDK level.
Routing in context: what users actually see

Users don't think about edge routing. They think about whether the workflow is readable. They think about whether the canvas helps them understand the logic or obscures it. They think about whether the tool feels professional or prototype-ish.
Obstacle-avoiding routing is one of the components that determines the answer to those questions. In a workflow editor where edges run through nodes and overlap each other, users spend cognitive energy parsing the canvas rather than thinking about the workflow. In an editor where edges route cleanly around obstacles and remain readable as the workflow grows, the canvas disappears – it becomes a transparent medium for the logic, not a source of confusion.
That's the practical argument for production-grade routing. Not that it's technically impressive, but that it's what separates a workflow editor that users trust from one that they work around.
Workflow Builder is an embeddable workflow editor SDK by Synergy Codes. One-time license from €6,990. React-native, frontend-only, Apache 2.0 community edition available. workflowbuilder.io
Principal Developer with 7+ years of experience in React. He specializes in building data visualization solutions and interactive diagramming interfaces. He combines technical expertise with a business focus to develop practical, high-impact applications.


Go further with Overflow and Workflow Builder
Workflow Builder is powered by Overflow — a library of interaction components made with React Flow that elevates and extends node-based interfaces.